

BC Drivers: Learn How to Change your Headlight Bulbs in Under 5 Minutes
Tags: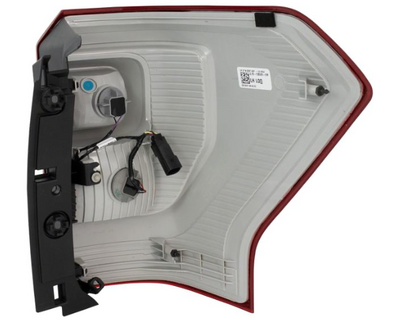 If you have tested out the brightness of your headlights and found that they aren’t as illuminating as you would like, then it may be time to replace them. Luckily, it is very easy to do at home by yourself.
First, you need to wear protective gloves and goggles during the process. This is standard as you will be getting into tight - and tough - spaces. It’s also best to replace both bulbs even if only one is out. This will ensure that they are even.
Next, if your vehicle has two bulbs per casing - one for high and one for low beams - then you need to identify which is which. The low beam bulb is usually on the outside, and the high one is typically on the inside.
Now it’s time to get into the unit itself. Some are easy to get into by removing a few screws. Others require access gained through the wheel well. It’s best to pop the hood in any case and be sure to read your owner’s manual for specific instructions.
Then, remove the plug for the bulb by releasing the clip with a small screwdriver. Next, take out the old bulb by turning it counter-clockwise. Install the new one by turning clockwise until you hear a click. Once you’re done, test them out before you hit the road.
Contact Ford Parts BC for replacement parts!


